Connect UI
Connect UI provides a fully browser-based interface for integration setup. It enables end users to authenticate and connect to third-party services via a secure, pre-generated URL—without requiring you to build or maintain any frontend components.
Benefits
- Fast proof of concept of Unizo demonstrates the power of integration layer without making frontend changes
- No app login required for your users, they can authorize integrations independently of your app
- Fully customizable with your branding and domain
- Multiple layout options including embedded and pop-up modes
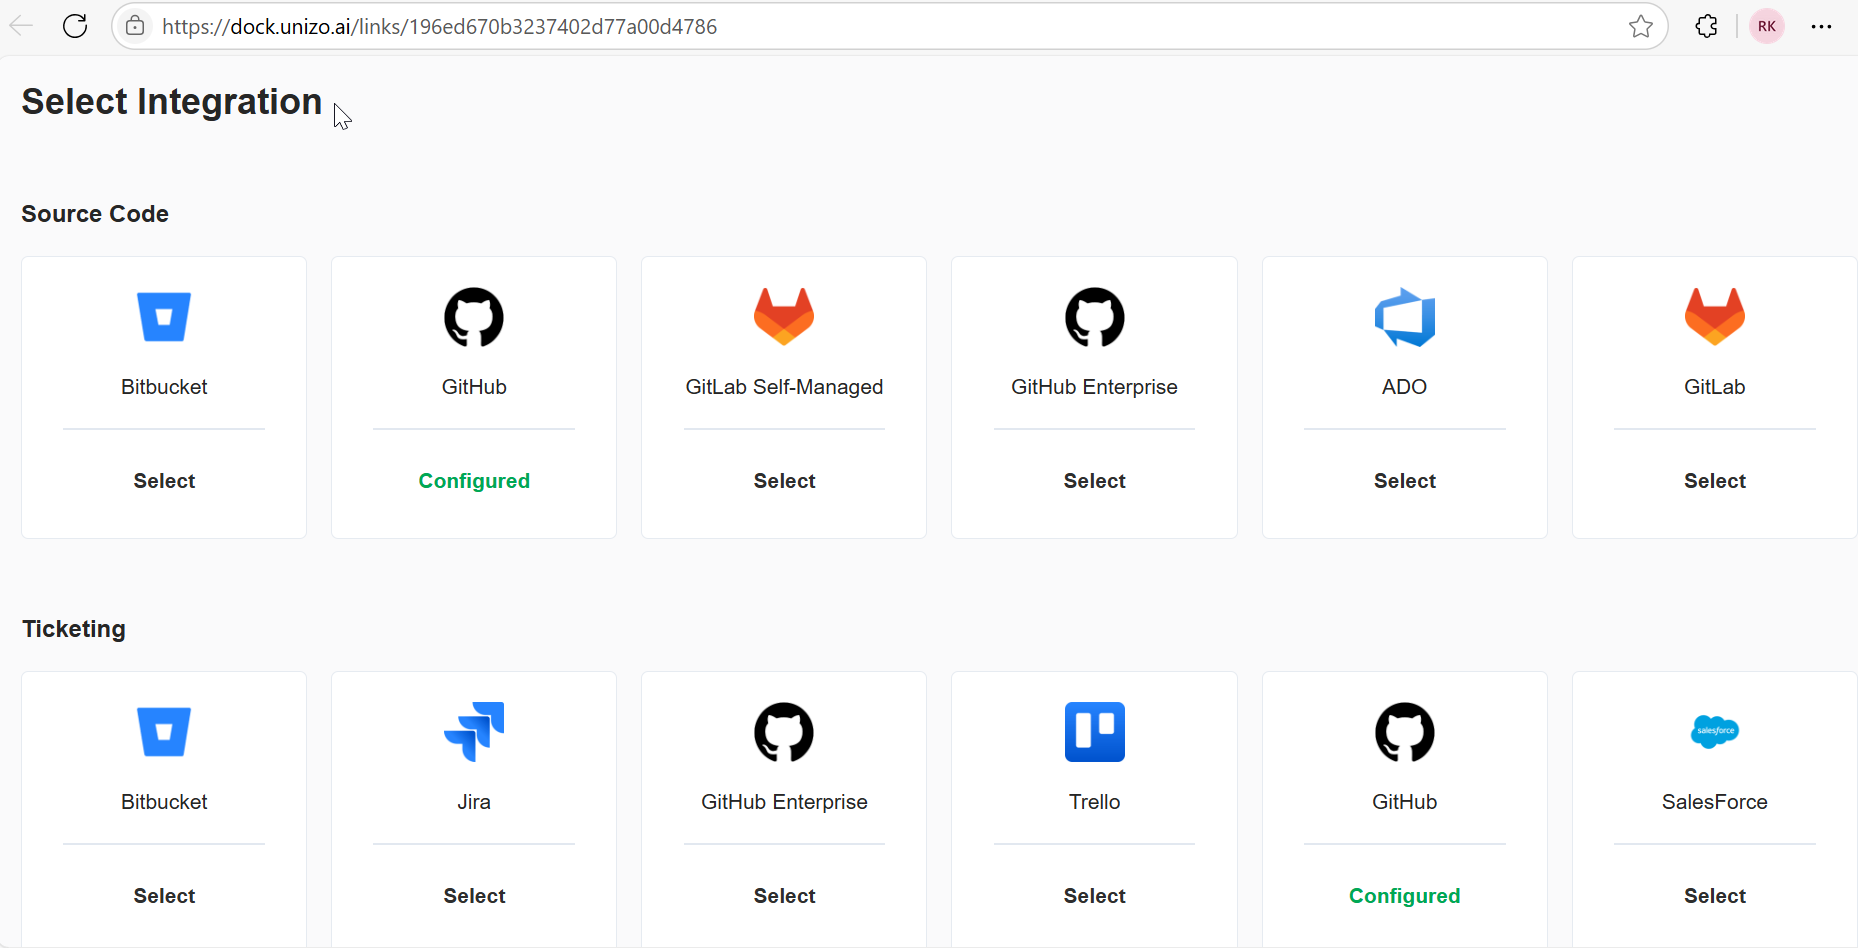
Connect UI drop-in integrations
Creating Dock Profile
A Dock Profile serves as the foundational configuration for your Connect UI integration. It acts as a container that holds all the necessary settings and credentials required for your application to communicate with the Connect UI service.
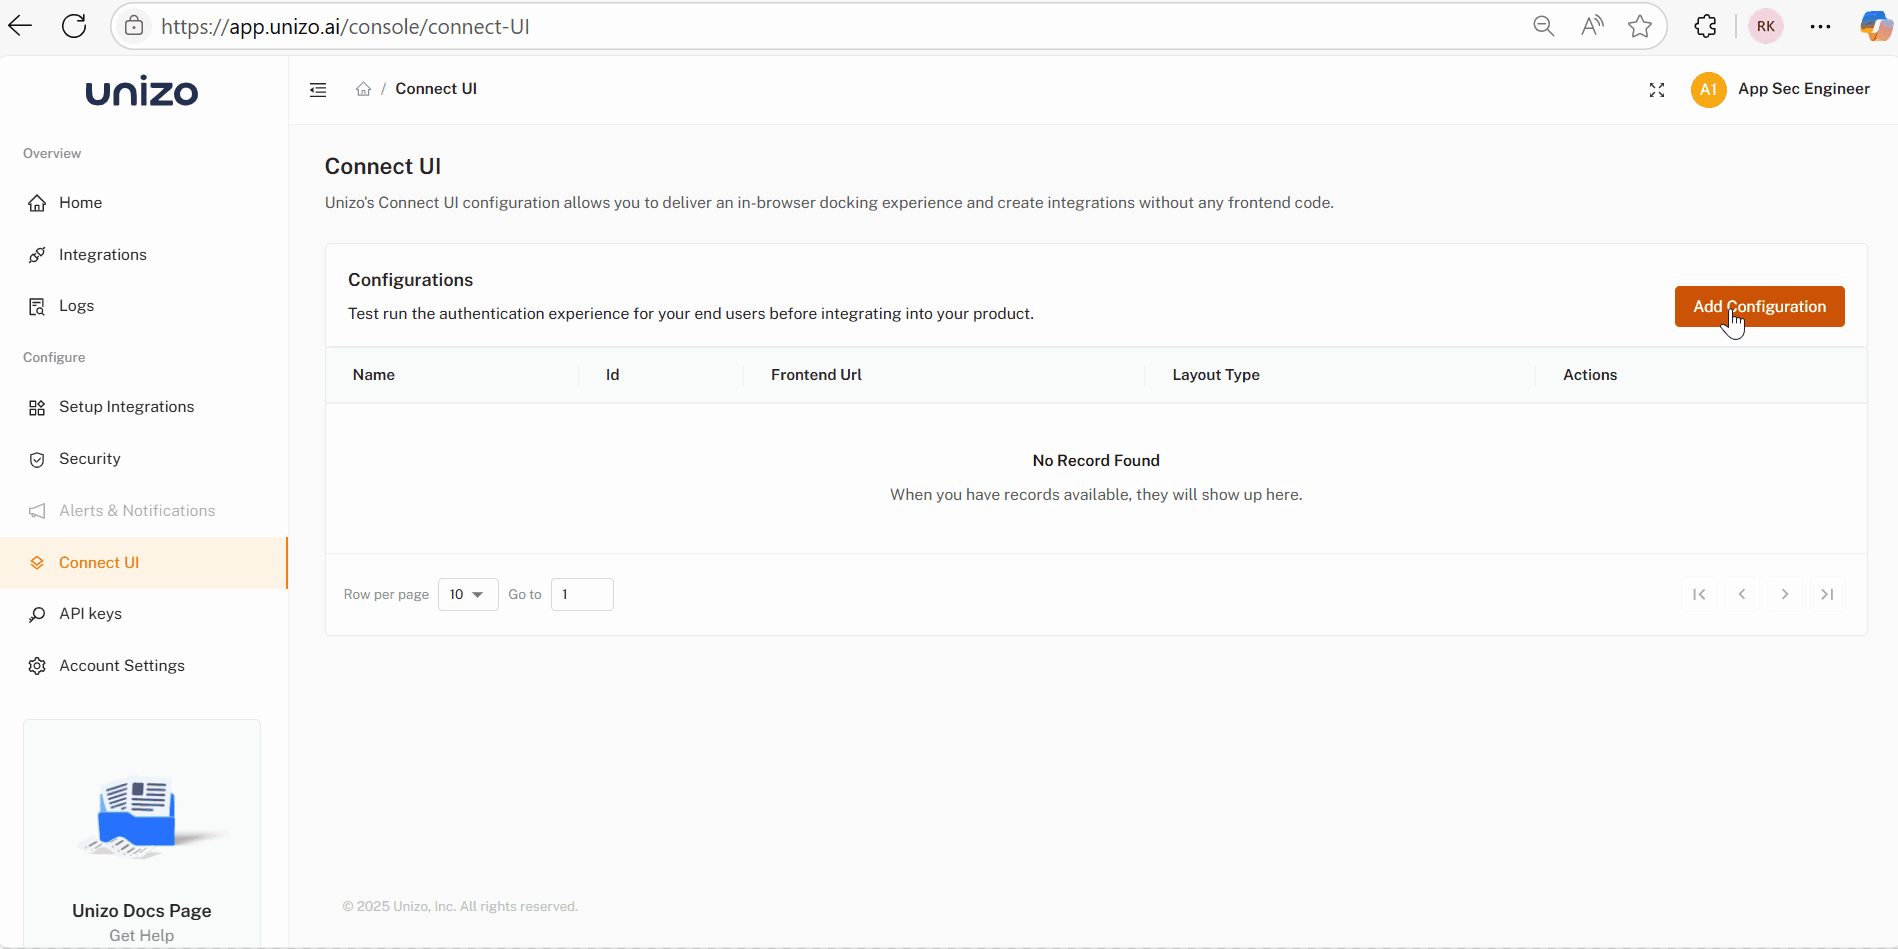
How to Create a Dock Profile
-
Navigate to the Connect UI Section from Unizo Console
-
Click the Add Configuration button
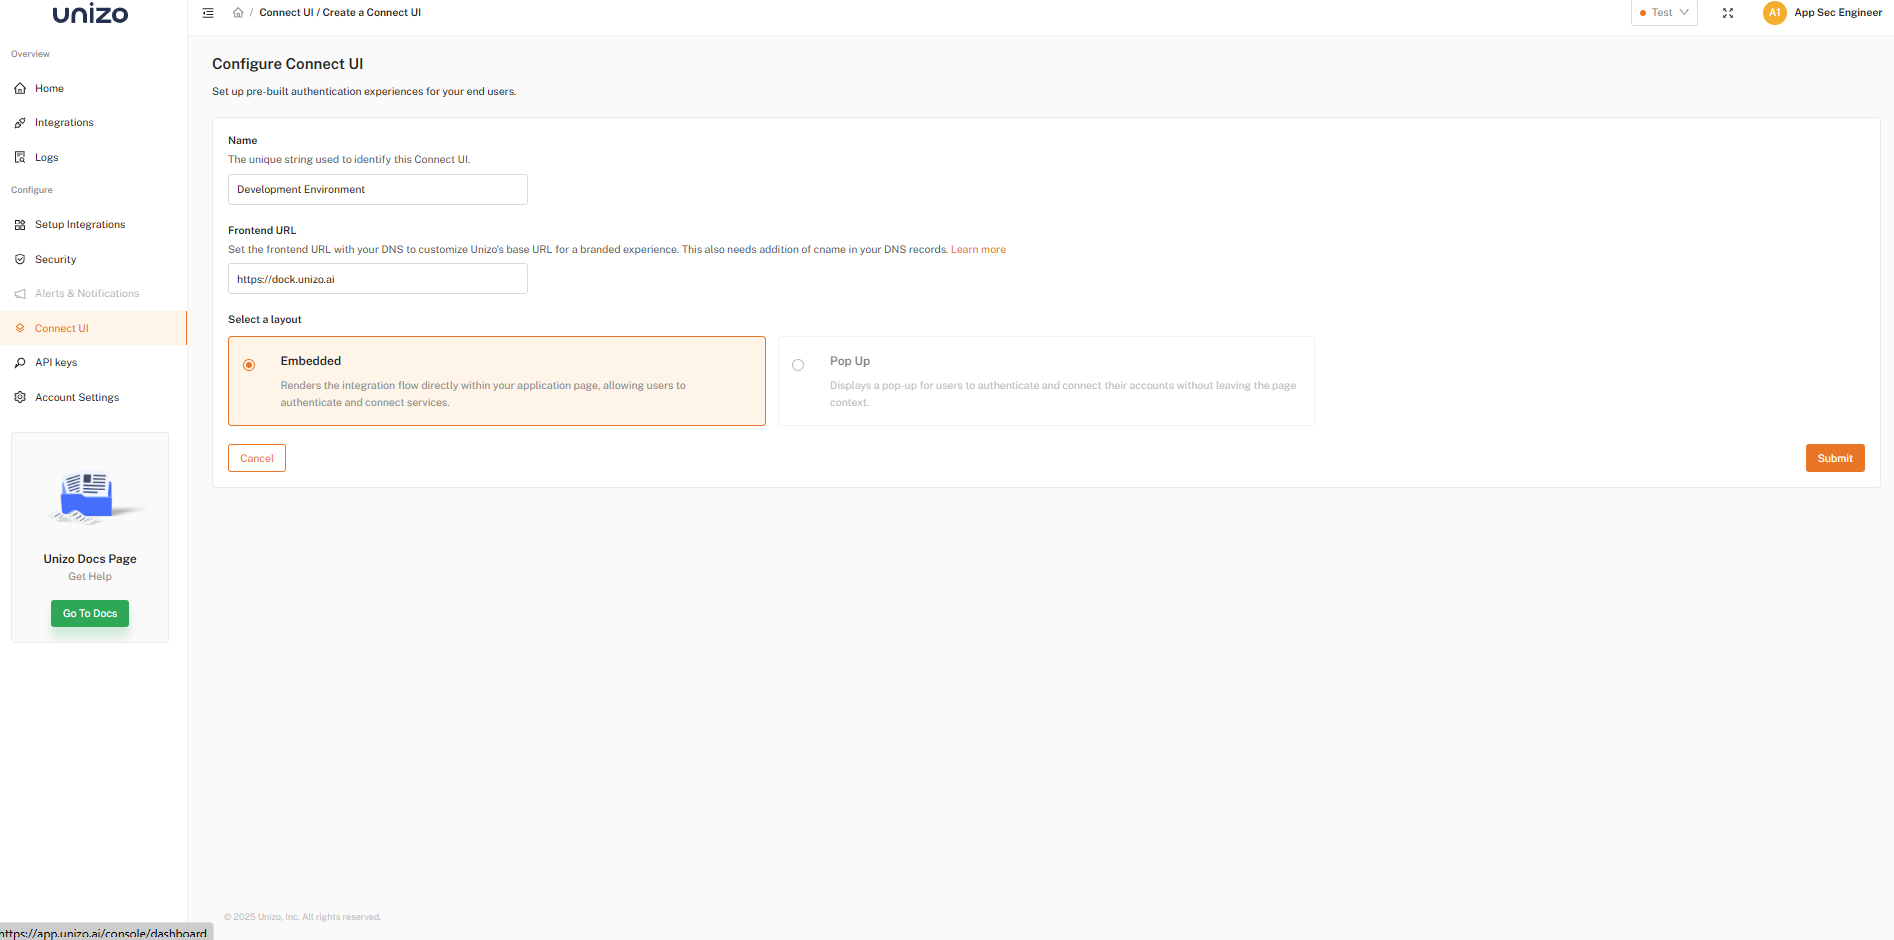
Configure Connect UI
-
Configure Profile Settings
- Name: Enter a descriptive name for your dock profile (e.g., "Production App Profile", "Development Environment")
- Frontend URL: Set the frontend URL with your DNS to customize Unizo's base URL for a branded experience
-
Layout: Choose between:
- Embedded – Renders inside your app page
- Pop-up – Displays a modal without leaving the page
-
Copy the ID
- Once the profile is created, locate the generated Dock ID
- Copy this ID to your clipboard or note it down securely
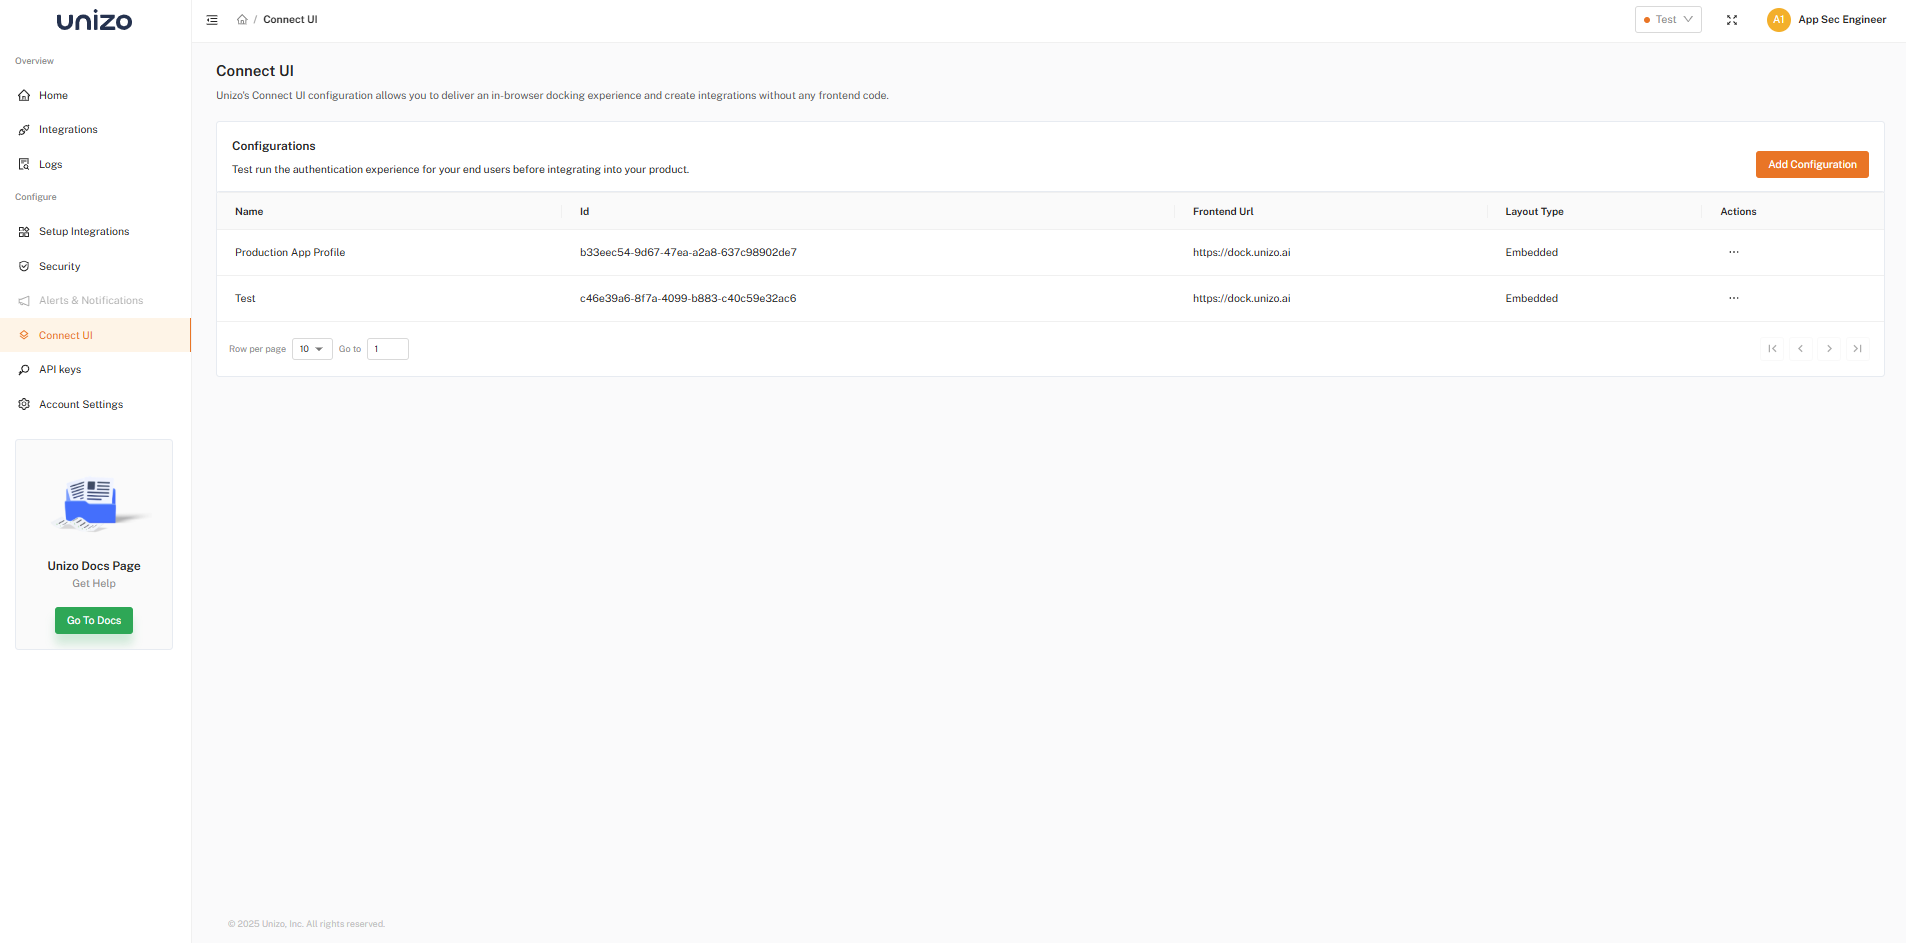
Generated Dock Id
Using the Dock ID for Service Key Generation
The Dock ID serves as a reference point when generating service keys. You'll need to:
- Use this ID in API calls for authentication
- Reference it when configuring your Connect UI instance
Creating Connect UI Links from Unizo Console
Connect UI from Unizo Console
- Navigate to the Connect UI section from the left menu
- Configure Connect UI as mentioned in Creating Dock profile above
- Choose the created configuration, select Test Run, and provide:
- Customer Key: Required field used to uniquely identify the customer
- Customer Name (optional): For internal visibility
- Category: Select integration category
- Click Generate URL
You will be presented with a unique URL that can be used to test the authentication experience before integrating into your product.
Note: The URL will expire within 30 minutes
Webhook Integration
You can automatically receive the Integration ID of a newly created connection by configuring a Platform category webhook in your Unizo Console.
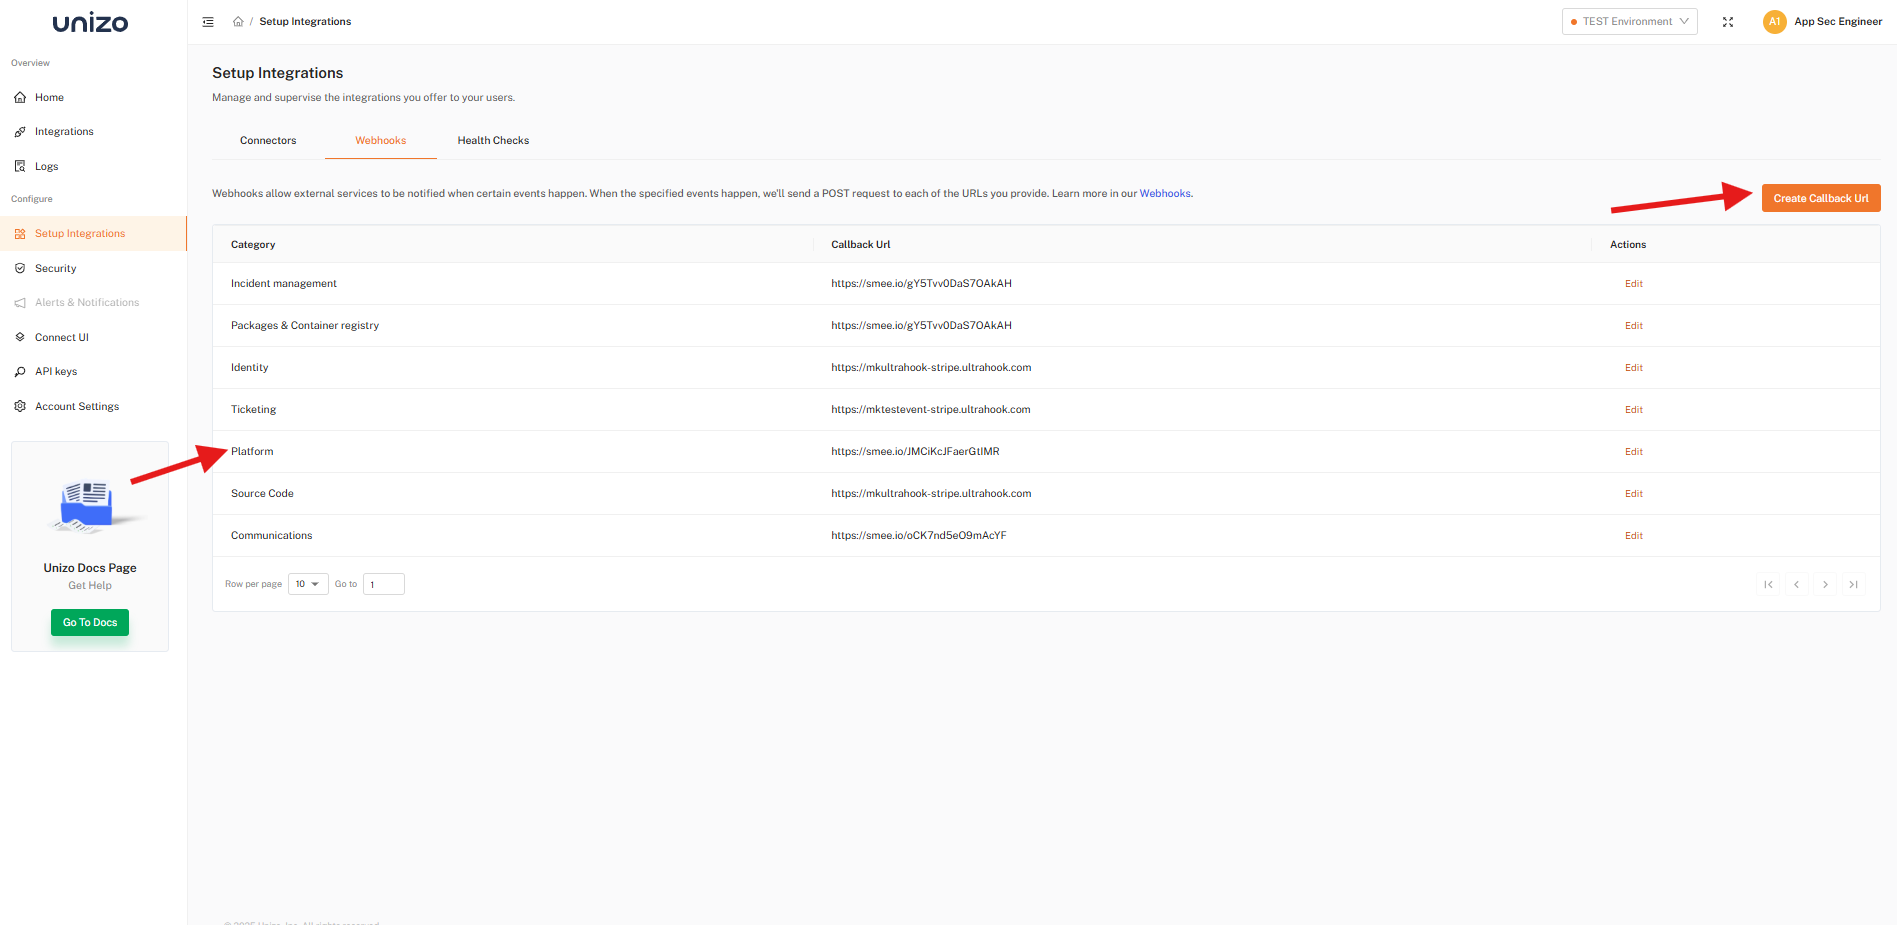
Configure Platform Category Webhook
Once an integration is established, the webhook triggers in real time and includes the Service Key ID in the payload — allowing you to track and process new connections.
Connect UI Integration Webhook Payload Example
{
  "version": "1.0.0",
  "type": "integration:created",
  "schemaId": "1.0.0",
  "contentType": "application/json",
  "createdDateTime": "2025-05-19T09:59:45.151695057Z",
  "integration": {
    "id": "e9faf151-cefa-4e71-99b9-5b20c5257955",
    "name": "Gi_Acme_1747648785063",
    "type": "TICKETING",
    "changeLog": {
      "createdDateTime": 1747648784897,
      "lastUpdatedDateTime": 1747648784897
    },
    "serviceKey": {
      "id": "196e7fbcbd02ba914e345ec4a14"
    },
    "subOrganization": {
      "externalKey": "e12bcb82-8ec7-4237-ad91-89e6419a76fe",
      "name": "Acme Corp"
    }
  }
}
For additional support, contact our team at support@unizo.ai.